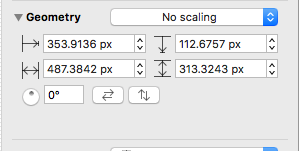
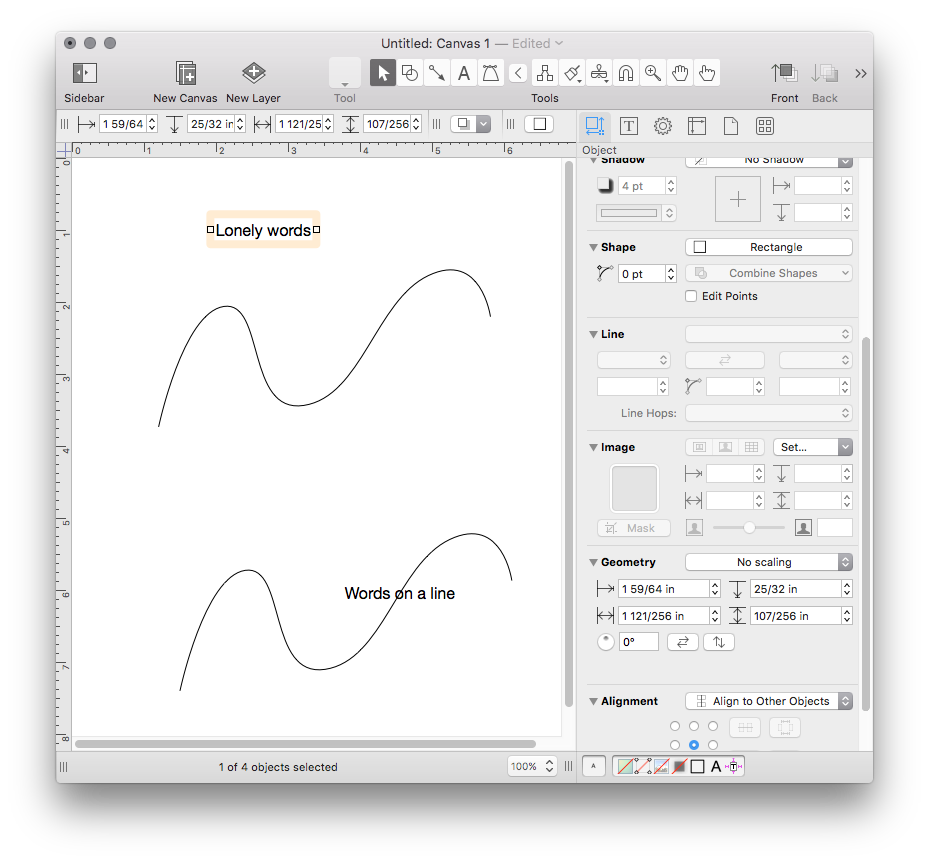
This setting is on the Geometry inspector for text objects that have been attached as labels to lines.
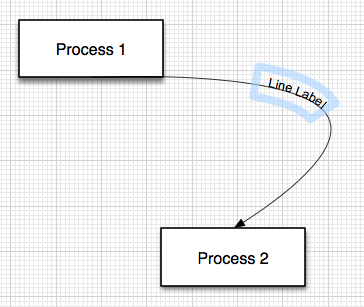
You can attach a text object to a line by dragging it and dropping it onto the line (make sure the line is glowing when you release the mouse button). Alternatively, double-clicking on a line while holding the Option key will create a label at the spot you double-clicked.
I use v6.5.3 as well. The feature is there but you have to select the label (not the line) before the Geometry attributes can be accessed, so once the line is created and the label attached, make sure the label is selected then you can select the follow option. It also enables a selection of a slider that allows you to move the label along the line so you can position it where you want. Unfortunately labels that have the follow line attribute seem to sit exactly on the line. I would like to be able to offset it above the line a couple of points to aid legibility.
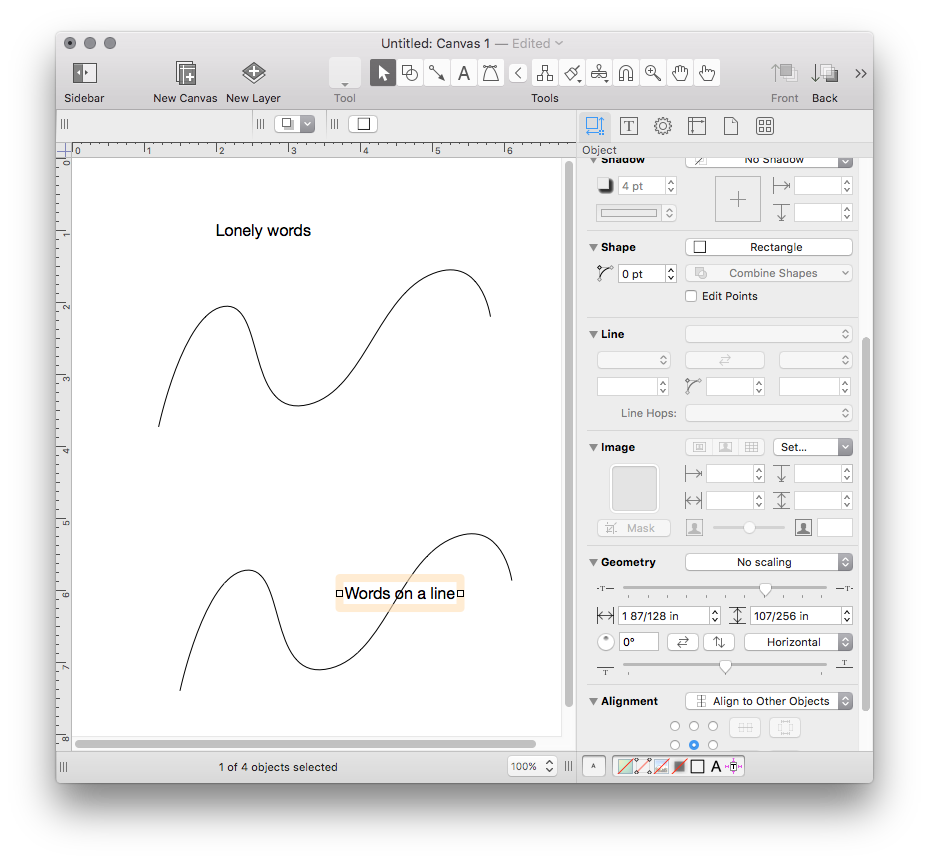
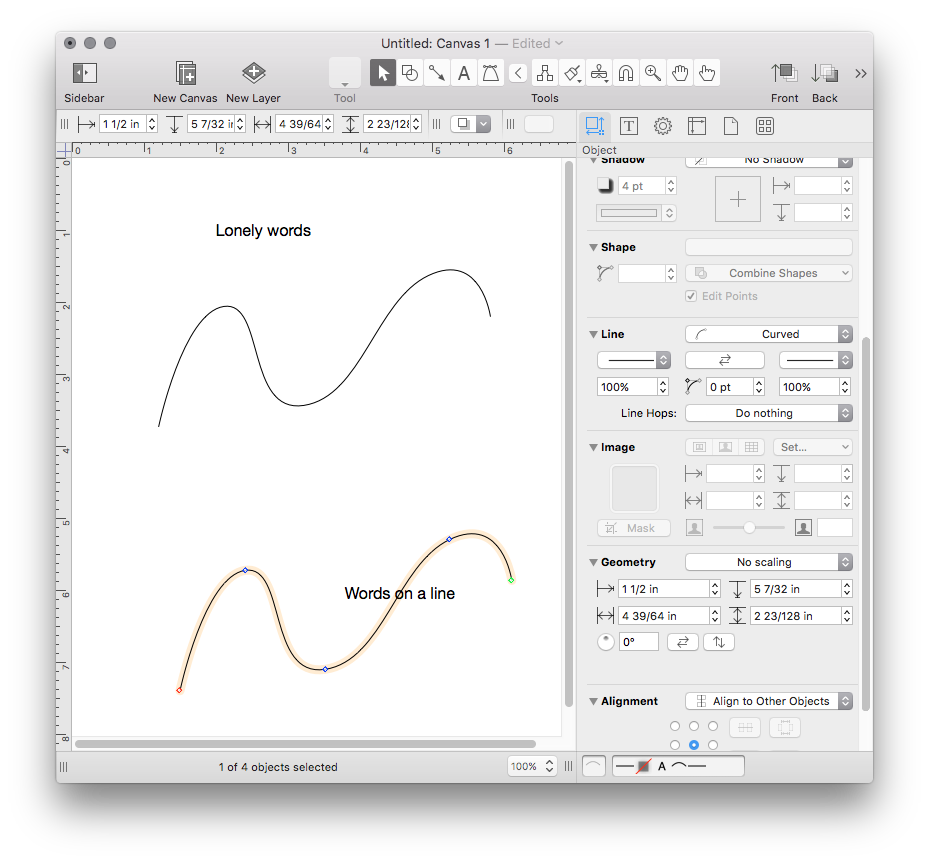
Took me a while to find it. For others who might have the same problem: select the text and than look at the “Object” inspector (not the “Type” inspector)
I have Omnigraffle 6.6.1 with the Pro Upgrade and the options available under my geometry section are different compared to every other screenshot I have seen for v6.
Is there a setting I need to change so that I get the additional drop down menu to adjust the copy to follow a path?
Is there any way to align text to the inside or outside of a closed shape such as a circle? Or is it only possible with free-form lines created with the Line tool?