Current version: 1.0.5 (Oct 19th, 2026)
ProjectReferenceScripts.zip (14.3 KB)
OmniFocus has tags, the Finder has tags. The Finder is a file management app—it is the obvious place to put your project’s reference material. So, why not make them dance together?
The ZIP archive attached to this post contains two AppleScript scripts (in text form—see below for how to use them):
Project Reference.applescript: based on an original idea from a 2008’s script (see 1. other threads in this forum), but completely rewritten from scratch, it allows you to open the project folder in the Finder corresponding to the selected project in OmniFocus. The folder is created and pre-populated with content if it does not exist. The script also assigns Spotlight tags to the project folder, based on the tags of the corresponding OmniFocus project and its status. See below.SyncTags.applescript: Iterates through all your OmniFocus projects and updates the Spotlight tags of the corresponding reference folders in the Finder—for those projects which have a reference folder, of course (this script never creates new items).
Note that they are provided without any guarantee (MIT license).
Installation
-
Open the scripts in Script Editor. Note: Script Editor will (correctly) warn you that the code is untrusted. I encourage you inspect the code in a text editor before opening it in Script Editor or executing it. Do not blindly trust random bits of code from the Internet!
-
Compile each script (Script > Compile) for better syntax highlighting.
-
Take a moment to review the “Configuration” section of both scripts (more on that below). The defaults are sane, but you may want to tweak them. Important: properties that are common to both scripts should have the same value in both scripts (yeah, there’s some code duplication, but it makes it easier to install the scripts).
-
Go to File > Export… and export the scripts somewhere as script files (
.scptsuffix). -
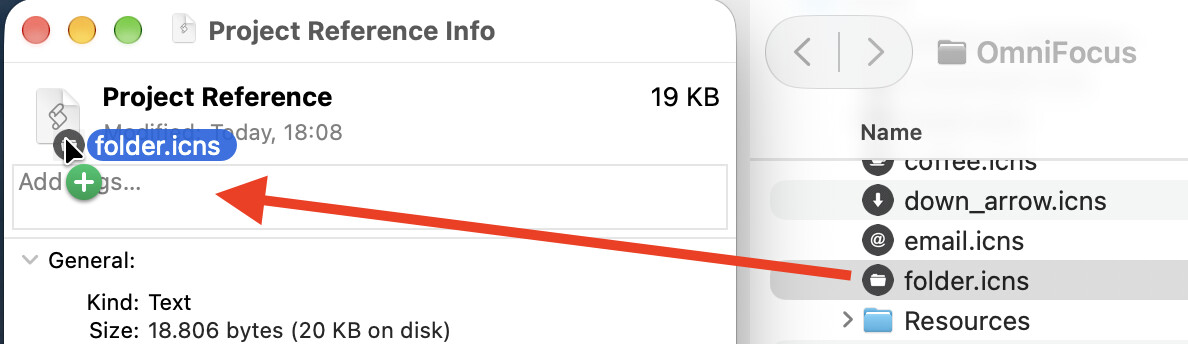
(Optional, but recommended) Customize each script’s icon in the Finder (Finder > File > Get Info, then drag an
.icnso PNG file to the icon next to the file name). -
In OmniFocus 3 or later, go to Help > Open Scripts Folder, and drag the script files there.
-
Right-click on OmniFocus’s toolbar, choose Customize Toolbar…, then drag the scripts into the toolbar.
Usage
In OmniFocus, select a project, a task belonging to a project or a folder, then click on the Project Reference script icon in the toolbar.
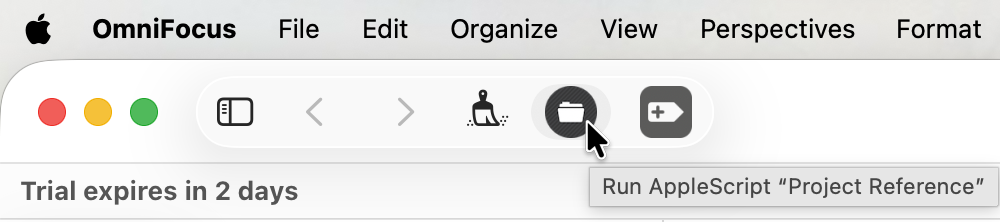
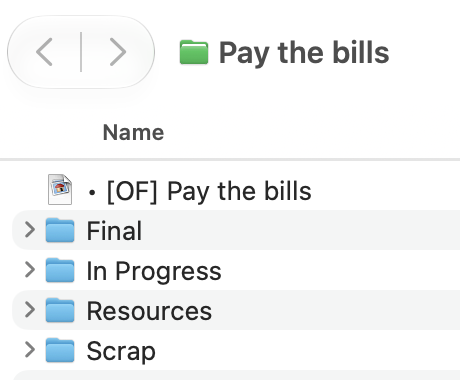
The script will open the corresponding reference folder in the Finder, creating it if it does not exist yet. In case of errors, please carefully review the error message. The most common error at the beginning is that the base folder (pBaseFolder property in the scripts) does not exist in the Finder (you have to create it yourself, or update the property value). By default, the scripts expect your projects to be in ~/Documents/Reference/Projects.
The script resolves Finder aliases: so, for example, if you have some project’s stuff in your iCloud drive, you can create a Finder alias inside your Projects folder. That way, the script will correctly retrieve and open your iCloud folder. You can put your Projects folder directly in iCloud Drive, of course (see Configuration below).
By default, the script adds an alias to the reference folder in the project’s notes. If an alias to a folder exists in the project’s notes, the script uses it to quickly find the folder, even if it is renamed or moved. You may also create such an alias manually by dragging a Finder folder to a project’s note field: the script will use that as well. Note: if you have multiple aliases to folders in the same note field, the script will follow the first one. Move the alias to the reference folder at the beginning of the note.
The script prompts you to pre-populate your project folder with a subfolder structure you can configure. It also creates a link back to your project in OmniFocus (just double-click on it). It can optionally create a new OmniOutliner document, but that is disabled by default because I don’t use OmniOutliner and I can’t test the feature. If you don’t have OmniOutliner, you may want to remove or comment out the corresponding code from ProjectReference.applescript.
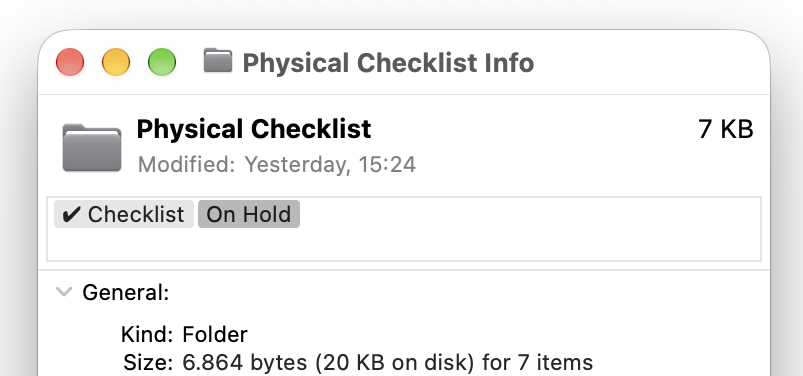
Each project reference folder in the Finder gets tagged with Spotlight tags corresponding to:
-
the tags of the OmniFocus project, if any, followed by
-
tags matching the project’s status (Active, On Hold, Flagged, Due, …).
Spotlight tags can be colored. Go to Finder > Settings > Tags, and define or customise the tags.
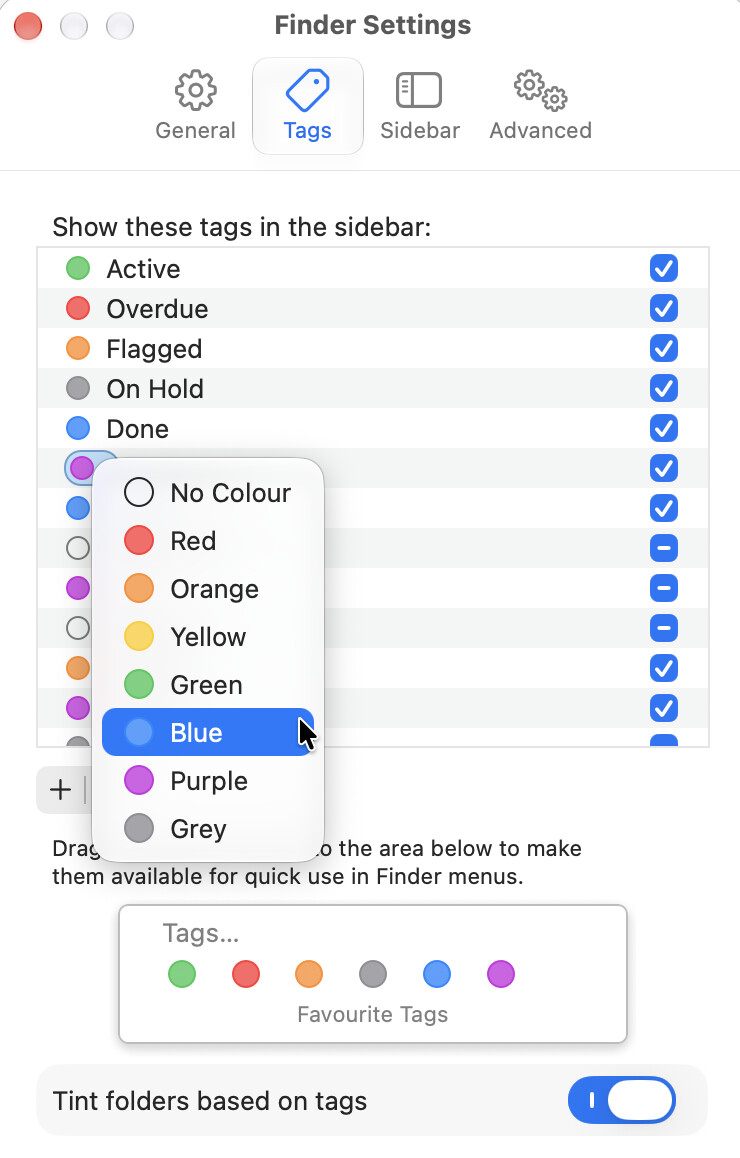
I recommend having Tint folders based on tags on, so that project folders get the color of their last listed tag, which always corresponds to the project’s status, with this order of precedence: one of {Done, Dropped}, or Due, Flagged and one of {Active, On Hold}.
Finder tags can appear in the sidebar, sync over iCloud, and of course they can be used in searches and to create smart folders. This opens up a lot of possibilities to efficiently manage your reference material.
You are free to manually add any additional tags you want to your Finder folders: my scripts by default do not touch any tag that is unrelated to OmniFocus (that is, any tag that is not an OmniFocus tag or one of the six status tags).
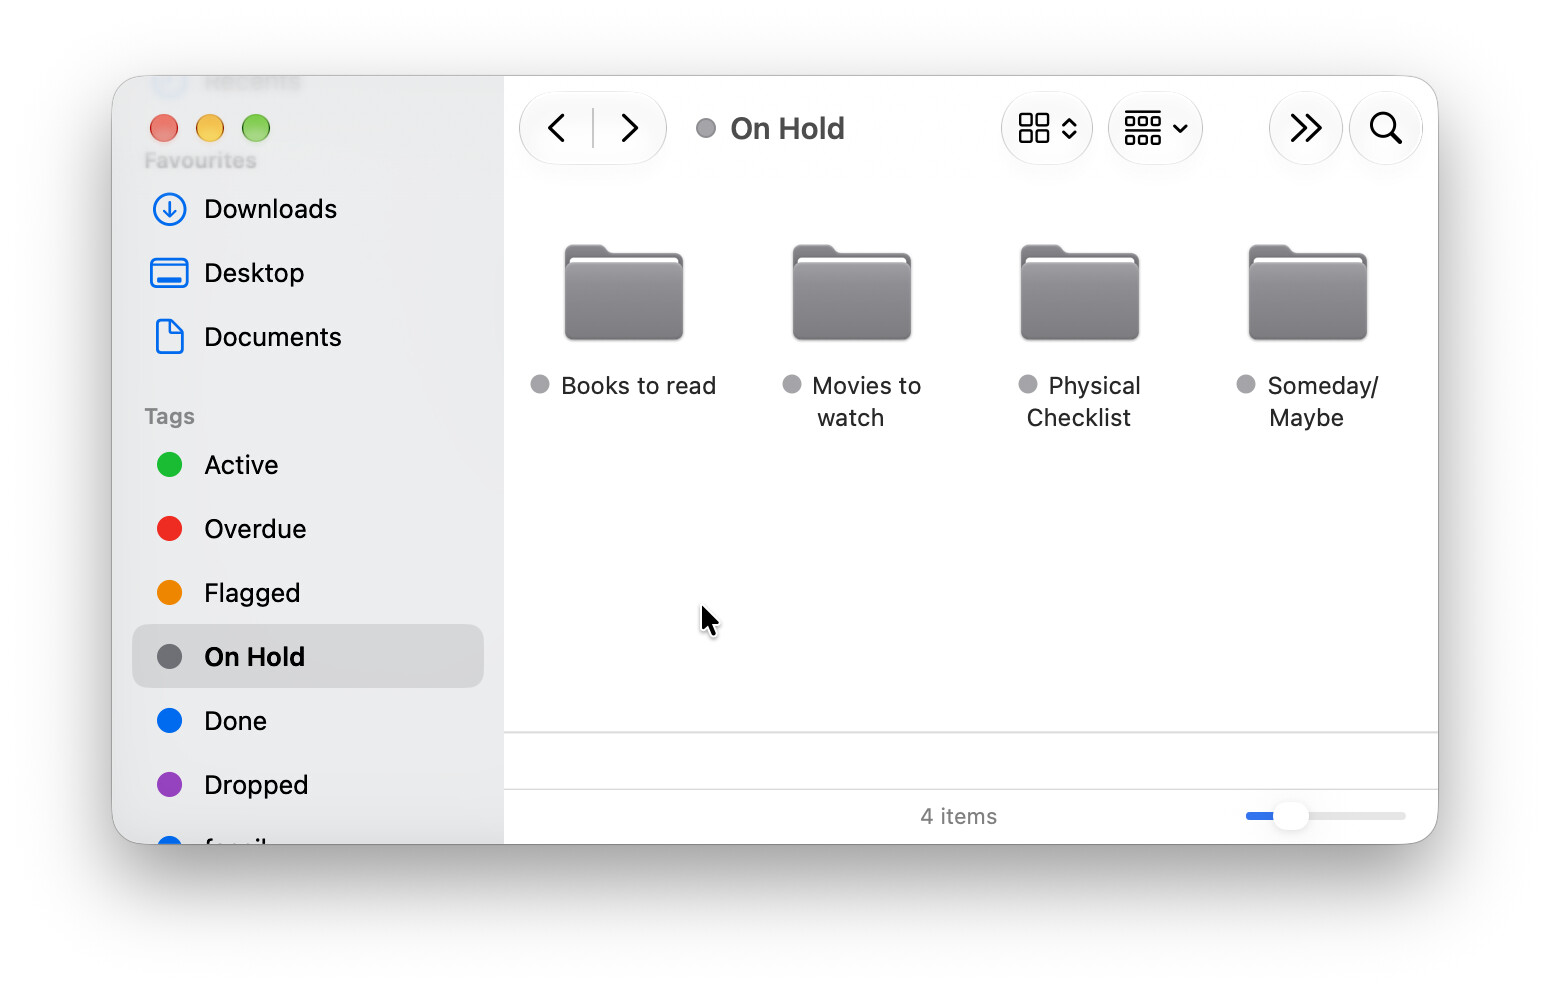
As you review and update your projects in OmniFocus, their tags may get out of sync with the Spotlight tags. The SyncTags script updates your Finder tags to reflect what is in OmniFocus. Note that the sync is one-way, from OmniFocus to the Finder. The sync script never creates or modifies anything in OmniFocus.
Configuration
The scripts have a number of properties that can be changed based on your preferences. The most important are:
- the Finder location of your projects:
pBaseFolderdefines the folder containing your Projects folder, which must exist and must not be an alias.pProjectsFolderNamelets you customise the Projects’ folder name. pUseFolders: when set totrue, the script creates a folder structure mirroring your OmniFocus folders’ hierarchy. Set tofalseif you prefer a flat list of projects.pProjectSubfolders: this is a list of subfolders to create inside each project folder. Nested folders must be separated by a colon, e.g.,{"Resources", "Resources:Budget"}.pDueSoonDays: when the due date of a project is less than or equal to this value, the corresponding reference folder is tagged Due.pUseFinderTags: set this tofalseif you don’t want to use Spotlight tags.pFlattenedTags: set totrueif you prefer flattened tags. For example, if your project is tagged withDevice:Tablet, if tags are flattened onlyTabletwill be used.pCreateAliasNote: set this tofalseto prevent the creation of a link to the reference folder in the project’s note field.
You can also adjust the size and position of the Finder window. The window opens in list view, but you can edit the Project Reference script to change that (there is no setting for that, sorry).
If you change a property that is common to both scripts, remember to set it to the same value in both scripts.
Be productive and have fun!