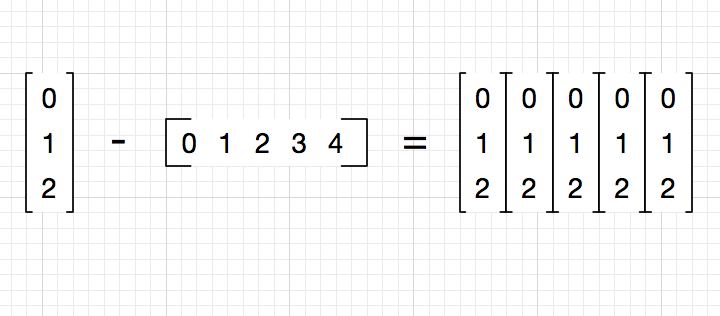
I created a shape by replicated single bracket shape. Can anyone suggest how I can get rid of the internal brackets? IE, I don’t want the vertical separators between columns
graffle: https://drive.google.com/file/d/0B56ak7W-HmqAWGo0Vy1meTNlSTg/view?usp=sharing
I tried to create a single “left bracket” shape by taking “brackets” shape, and using Subtract Shape with a rectangle. But that has an unexpected result – the original shape turns into solid rectangle.
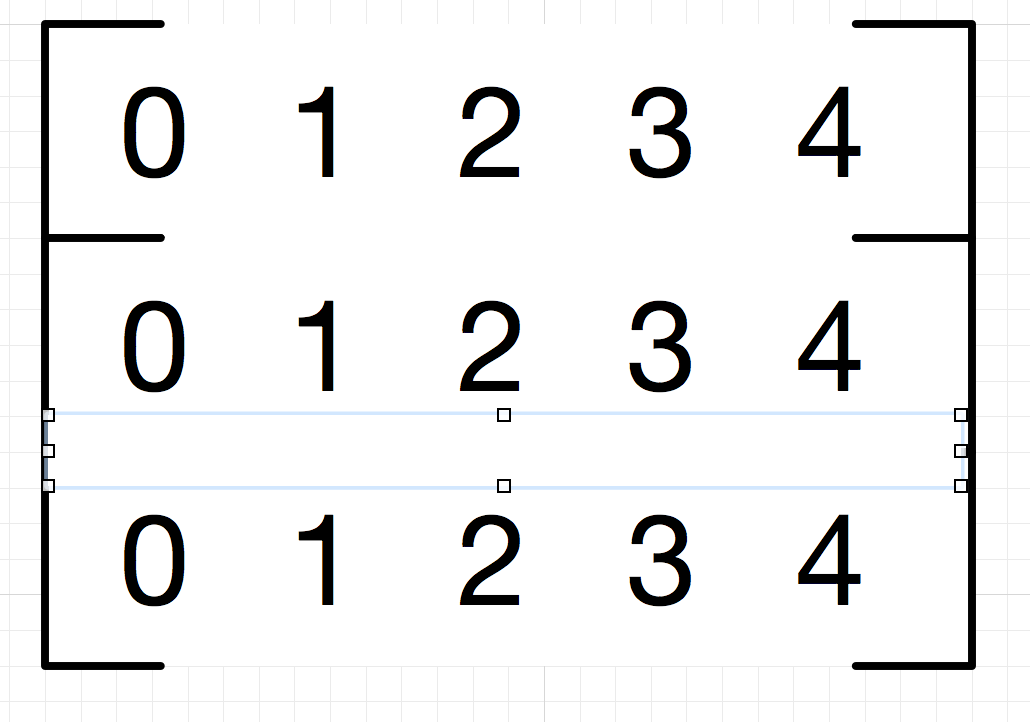
Also I tried to do “Edit Points” on the Bracket shape, but that also doesn’t work. In fact, checking “Edit Points” and then unchecking it has the unexpected effect of turning my bracket shape into rectangle.
BTW, I tried to draw a white rectangle on top to remove the brackets, but the snapping won’t let me align it just right. I turned off both alignment guides under Arrange, and turned off snapping, and tried dragging with Option and with CMD, and still it snaps into wrong position
- Forget about using the existing shape (and then messing with it (and then experiencing problems with the messing) ).
- Create a white rectangle for your textual content (0 1 2 …). Set the characteristics that you desire. Deselect Stroke. Select Fill to white. Etc.
- Always use a Ruler, and set it up for your purpose. SnapToGrid.
- Therefore your rectangles and lines should be aligned to the Ruler, eg. 0.6 cm width and 1.8 cm height.
- Draw a line. Vertical. Orthogonal. Top-left of the rectangle to bottom-left. Set the characteristics of the line. Eg. 0.5pt, Black, (a). It is now ruler-aligned.
- Grab the handles, start and finish, and move them towards the centre of the rectangle. (You can also set the Ruler to half the usual, and do more precise alignment, but I will keep this simple.) Do this movement using ⇧→. Again, much easier if you align the end-points and the mid-points to the grid.
- Double-click on the line, to create a mid-point. Drag that midpoint to the top left of the rectangle.
- Do the same [7] for the bottom right.
- Copy-paste the line, to create the right-bracket. Switch the end-points vs mid-points, along the Horizontal, using the double-headed arrow in the Inspector/Property/Geometry (not the Inspector/Style/Stroke).
- Group the three elements (rectangle plus two lines). The group is your tailor-made shape.
When you resize any element in the group, you may need to move or re-size the other elements. This will be reduced as you learn OG, and build some experience. Alternately, use the elements, ungrouped, to form a new group.
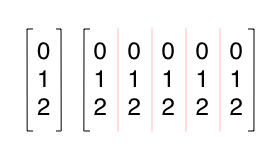
You haven’t specified what you do want in the in-between brackets, I have given it pink lines sans brackets. I trust you can work it out from this suggestion.
1 Like