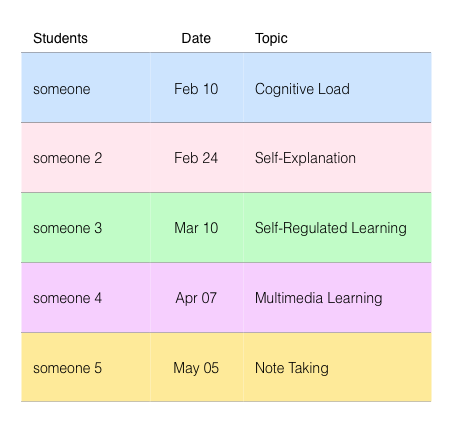
I think I may be brain dead today. I’m creating a table in OmniGraffle. In essence what I want is to have bottom/top borders for each row (but no vertical borders between cells), plus a border around the whole big table. Any suggestions how to do this? Attached is an example of what I’m doing. I’m 90% of the way there, but getting vertical borders just on the very outside of the table eludes me today.
AFAIK there is no such setting. For the diagram you have provided, when your table object is stable:
draw a new rectangle Shape
place it over your table object, precisely, such that the borders (all four) match
the use of a carefully chosen Grid is relied upon here, as that will make this easy, or not
set the stroke identical to your table object
set the Fill to none
group the table with the new rectangle
That will allow:
changes to the cells easily
changes to the grouped object easily.
by:
click once for the grouped object
click a second time and you reach the table object.
But that will not allow:
change the num of rows or columns easily, because the table handles are not visible.
select the rectangle easily, eg. to change the Stroke
If you drag the visible handles, which is the grouped object, since the handles are not table handles, it will change the grouped object.
To overcome that problem, try this. Either that (above) or this (below) is better, depending on the scenario. For the rectangle
set the Fill to White; Opacity to 0%.
Now you can access the rectangle easily.
Click once to select the grouped object
click a second time to access the rectangle
move it aside (while not breaking the group) one grid position (using the arrow keys)
now you have full access to the table object behind the rectangle
click on the table object
which will make the table handles visible.
That rectangle with a Fill of White and Opacity of 0%, with or without a Stroke, such that it can be selected without trying to grab the Stroke (impossible when there isn’t one!), is the second most useful thing in my toolbox. I set the TextColour to dark red and the FontSize to 24pt, such that if I accidentally click into it and start typing, the fact that it is an accident screams out at me.
Thank you very much! That was quite helpful and now I can do what I need to. I thought I was missing something obvious (i.e. that one did not need to create an extra object) but I was clearly wrong. Your instructions made it easy.
Which really means, one has to think about the effect one wants (eg. you initial table plus the properties), then think about what objects one must group together, in order to get the desired effect. There are usually several ways (different objects, different groupings) that will produce the desired effect … but one or the other set of objects, grouped, are better than some other grouping.
As one’s familiarity with the drawing tool increases, that becomes easier.
I have been using a different method successfully:
Insert blank table rows between your content
Select those blank rows, and then set their background to be a light gray and their dimension to have a height of 1px.
Upsides: They’ll remain intact with your table as you make other changes (width and adding or removing of columns or rows)
Downsides: They will not auto-fill when you drag your table down to automatically add more rows. They may stretch to a height other than 1px if your stretch the height of your table.